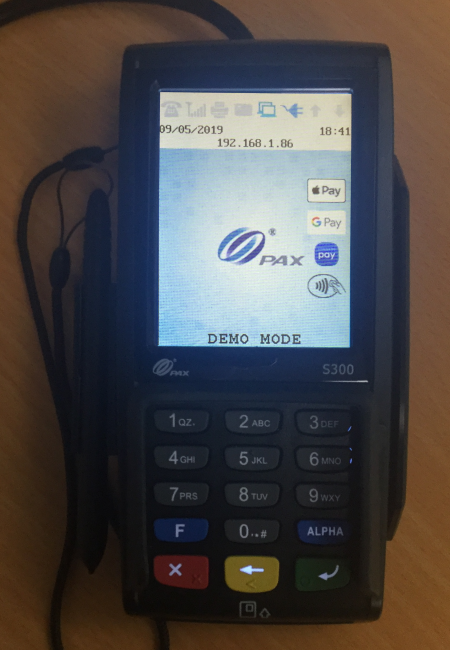
By default, the PAX Payment Terminal will be configured to automatically obtain an IP address from a DHCP server.
We strongly recommend that the Payment Terminal is either configured with a static IP address or an IP address reservation is set at the DHCP server/router to bind the terminal MAC address to an IP address reservation so that the terminal can maintain the same IP address.
Failing to set a static address either via the terminal or address reservation will result in the IP address changing each time the terminal requests an address from the DHCP server.
Any change to the IP address will result in Idealpos losing connection with the Payment Terminal until Idealpos is manually configured with the terminal's new IP address.
Creating an IP address reservation is outside the scope of this guide due to the vast range of routers available on the market in addition to the endless variations of network configurations.
Refer to your router/DHCP server documentation for further information on setting DHCP reservations.
In this guide, we will focus on configuring a static address via the Payment Terminal.
Before proceeding, ensure that you have obtained the password to access the Payment Terminal functions.
This may be obtained from the Payment Institution and/or supplier of the Payment Terminal.
Once the Password has been obtained, ensure that the Payment Terminal screen isn't dimmed.
Should the screen be dimmed, pressing any button on the terminal should cause the screen brightness to increase.
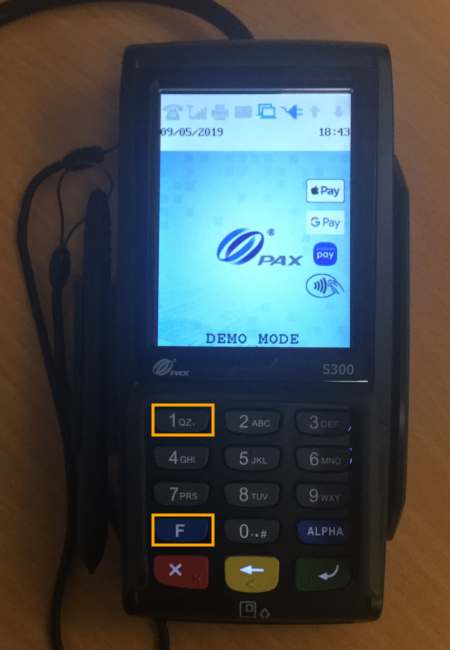
After the screen has brightened, press and hold the Function and 1 keys both at the same time.
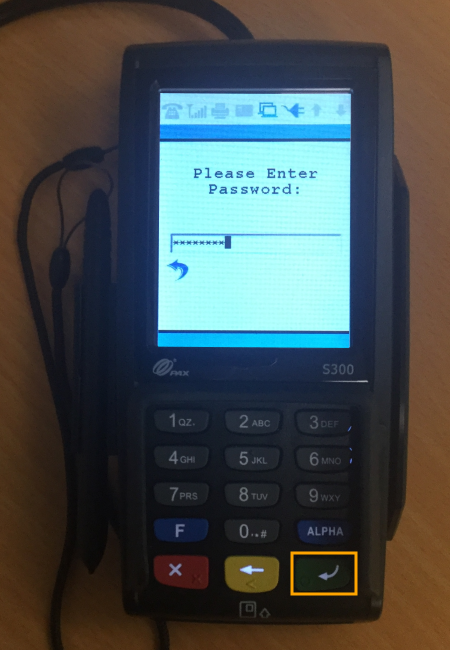
The Payment terminal will then request the entry of a Password.
Using the numeric keypad, enter the password which was obtained earlier.
After entering the password, press the green enter button on the terminal to proceed.
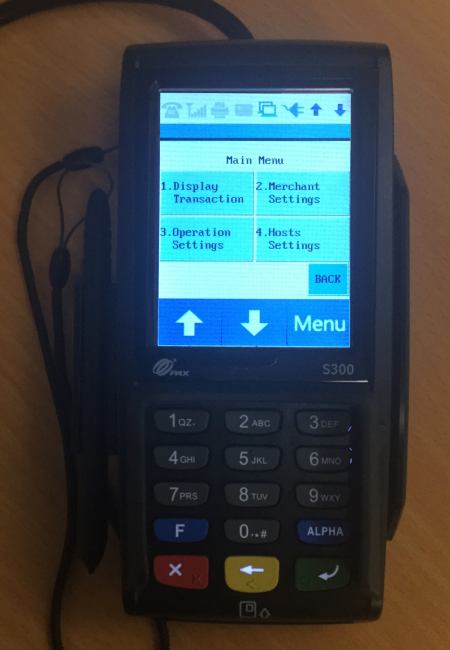
Once the password has been entered and accepted, a Main Menu will be displayed.
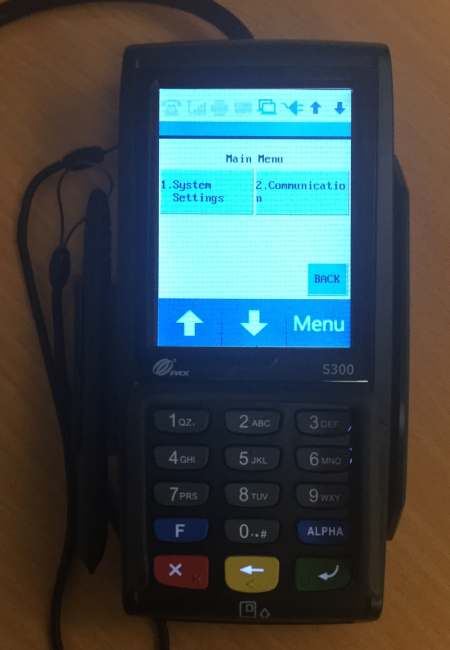
Press the down arrow on the screen, then press 2. Communication.
You will be prompted to enter the password.
Enter the same password that was entered previously, then press the green enter button.
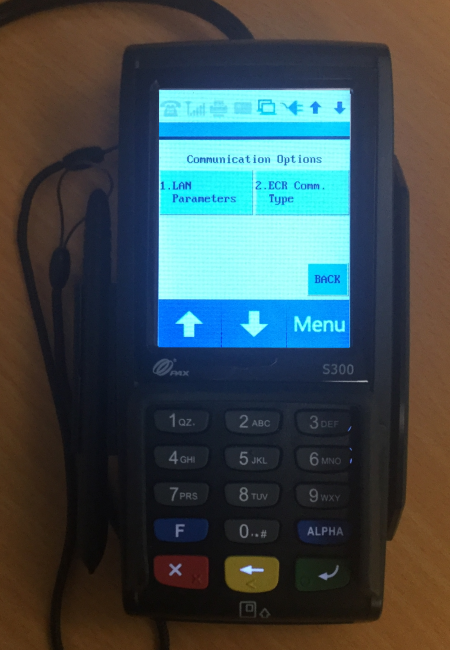
Press the down arrow twice. Two options should be available.
1. LAN Parameters and 2. ECR Comm. Type.
Press 1. LAN Parameters.
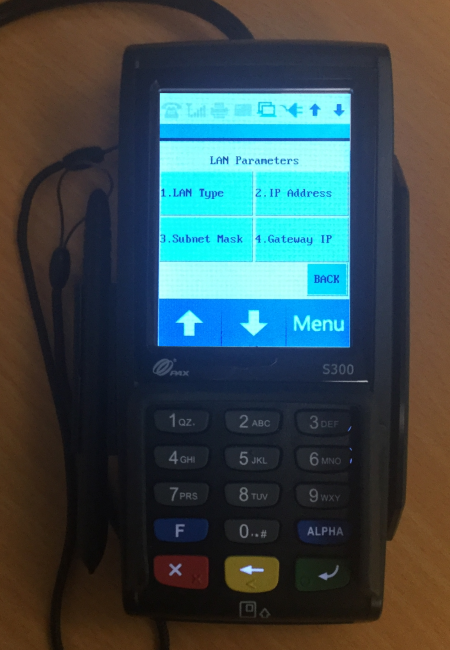
Finally, LAN Parameter options which can be used to configure the Payment Terminal network settings will be displayed.
These options include LAN Type (DHCP/Static), IP Address, Subnet Mask, Gateway IP and more.
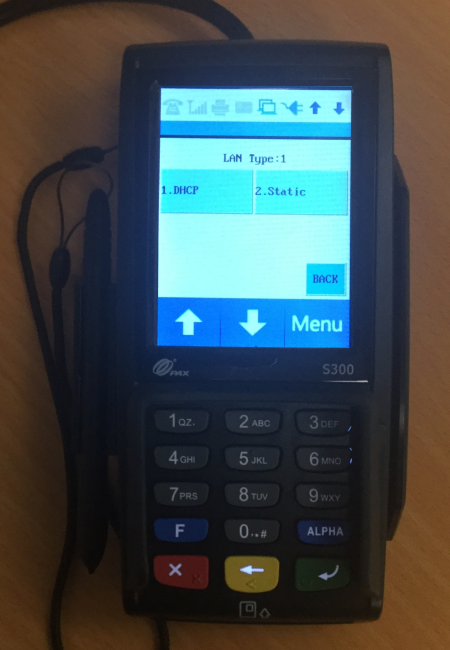
From the LAN Parameters screen, press "1. LAN Type" to toggle between a DHCP and static IP address.
The number displayed next to the LAN Type text at the top of the screen will indicate which LAN Type is currently in use.
The number shown next to LAN Type will correspond to one of the LAN Types listed below (LAN types of DHCP or Static).
Press "2. Static" to set the LAN Type to Static.
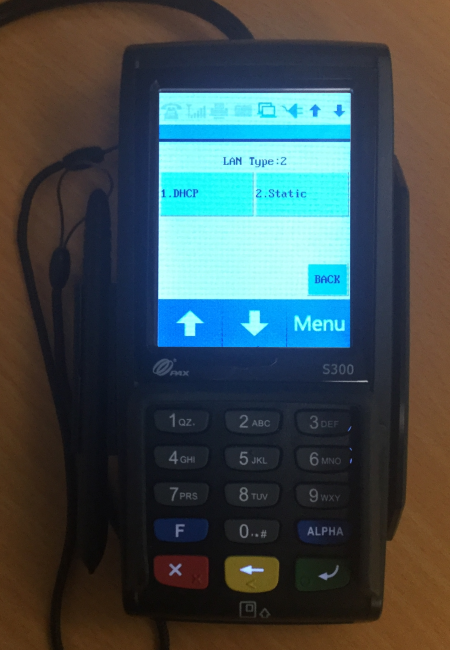
After selecting "2. Static", the terminal will then return to the LAN Parameters menu.
If you need to confirm that the LAN Type was changed to Static, from the LAN Parameters menu, press "LAN Type" and the number displayed next to the LAN Type text should have changed so that it corresponds to the Static LAN type as per the below example.
Once the LAN Type has been set to Static, the IP address will need to be configured.
From the LAN Parameters menu, press the option "2. IP Address" to configure the IP address.
You may initially see the IP address that was assigned by the DHCP server.
Clear the IP address by continuously pressing the yellow back button on the payment terminal (located between the red x and the green enter keys).
Before assigning/entering an IP address, ensure that it hasn't been assigned to any other devices on your network.
Also, ensure that any IP address entered is outside your DHCP range (to prevent the DHCP server from assigning the same address to other devices).
Refer to your DHCP server or router for more information on DHCP ranges.
Then using the numeric keys, enter the static IP address that you want to assign to the Payment Terminal.
Note that when entering the IP address on the terminal, each set of numbers in the IP address is three digits long.
When entering an IP address that doesn't occupy all three digits in each set, you will need to enter leading zeroes.
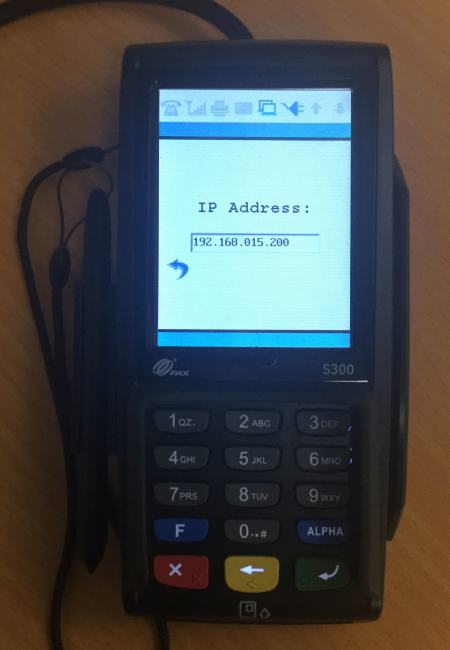
Example: An IP address of 192.168.15.200 will need to be entered as 192.168.015.200.
Another example: An IP address of 10.15.25.60 will need to be entered as 010.015.025.060.
The below image shows an IP address of 192.168.015.200.
After you have entered the IP address, press the green enter button on the terminal to save the change.
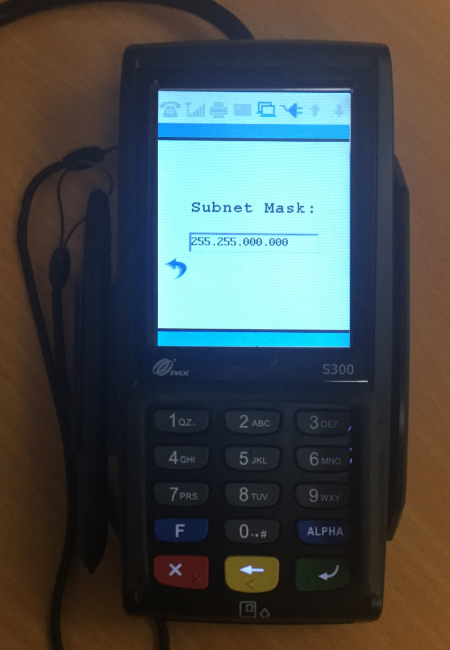
From the LAN Parameters screen, select the Subnet Mask option.
Enter the required Subnet Mask, then press the green enter button to save the change.
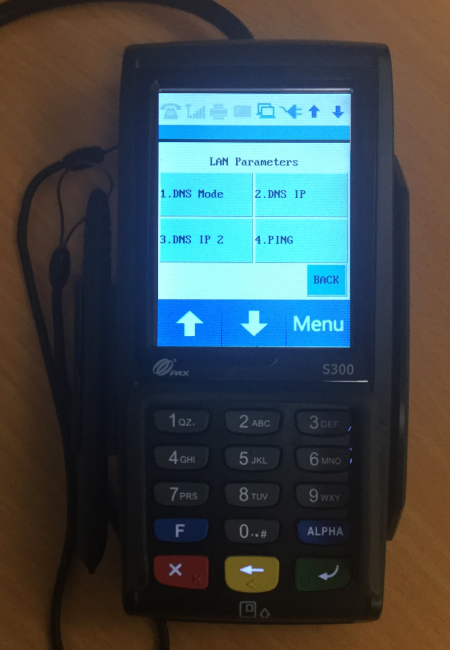
You may want to also configure the remaining LAN Parameters (e.g. Gateway IP, DNS Mode, DNS IP, DNS IP 2) following a similar process as above.
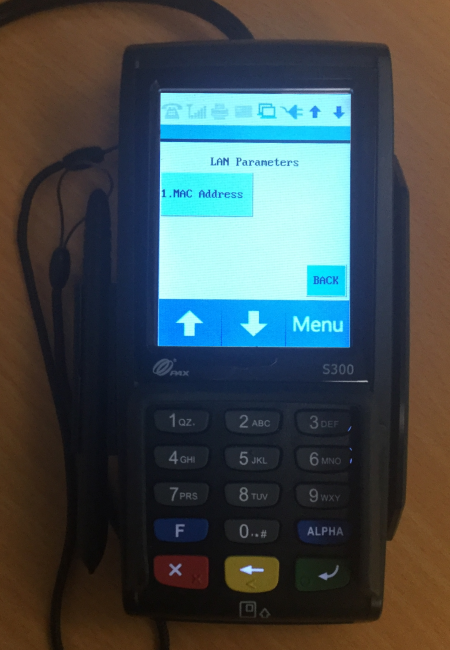
Additional LAN Parameters can be accessed by pressing the up/down arrows, then select the required parameter and configure it as required.
Remember that the same logic applies to the other LAN parameters; wherever the parameter that you're configuring contains decimal places, and your parameter doesn't occupy all the numbers in each set, remember to add leading zeroes.
Once the network configuration has been completed on the Payment Terminal, keep pressing the back button on the terminal screen until the terminal main screen is displayed.
Alternatively, keep pressing the physical red "X" button on the terminal until the terminal main screen is displayed.
To ensure that your POS terminal can successfully communicate with the payment terminal, you may also perform a ping request from the POS terminal.
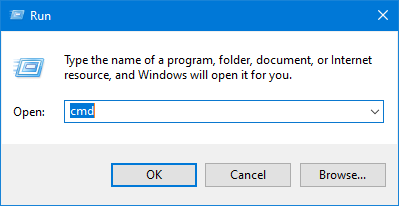
Open the Windows Command Prompt (Windows Key + R > enter "cmd" then press OK).
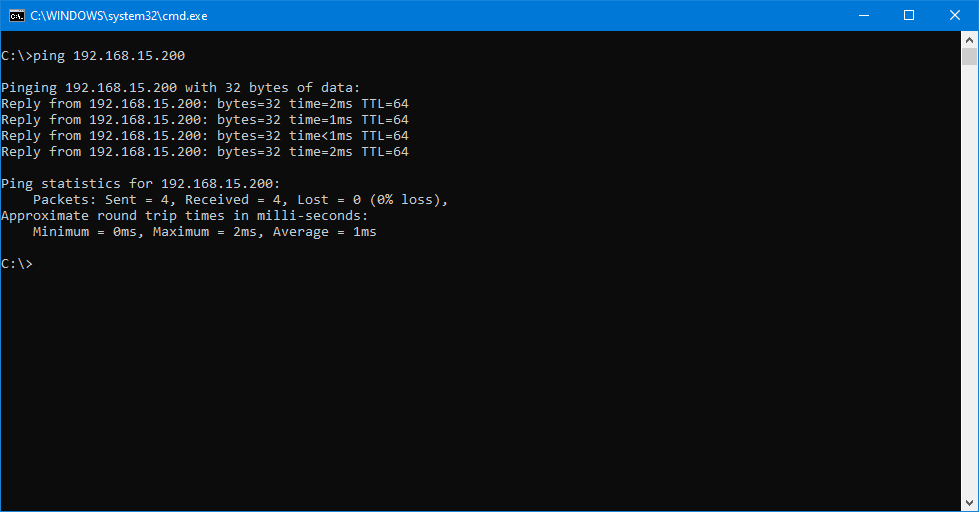
Enter ping followed by the payment terminal IP address.
E.g. ping 192.168.15.200
If the Payment Terminal has successful network connectivity with your POS terminal, a successful reply should be received as per the below example:
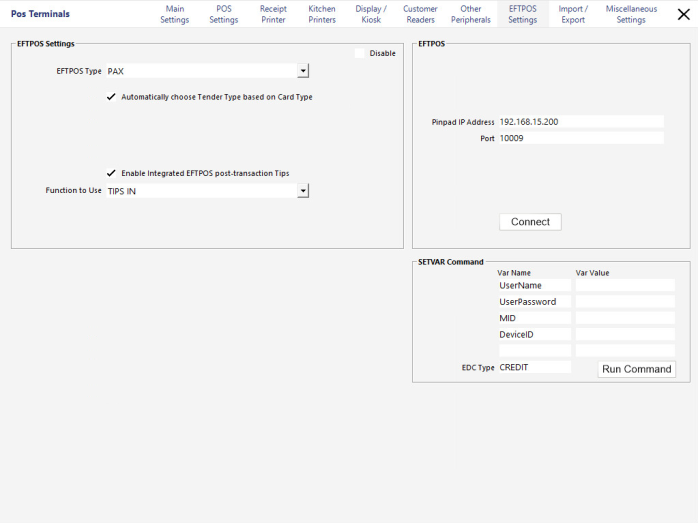
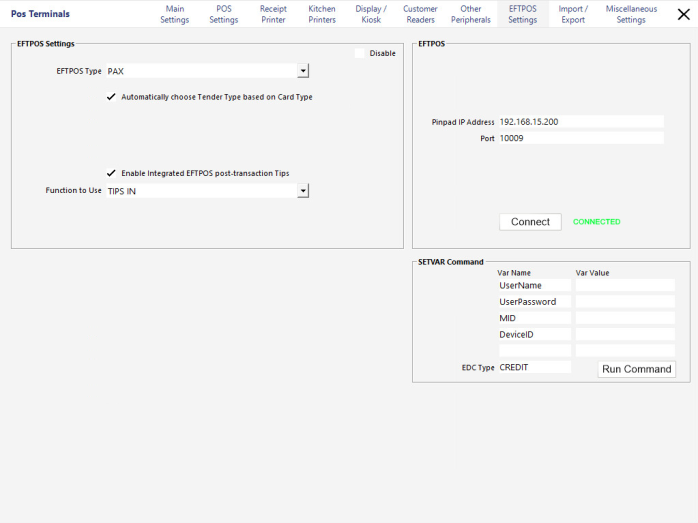
Once the terminal network settings have been configured and the terminal is successfully communicating via the ping test, proceed to the next step to configure Idealpos.
